This is how we setup the VOIP system, that is used as a comm system.
Download TrixBox ISO from Trixbox.org http://fonality.com/trixbox/downloads
The current stable release is 2.8.0.4
Using the ISO, install Trixbox on a vmware server or install as a standalone server, it works well either way.
The install is pretty straight forward. The ISO is designed as a bootable disk that will install the full OS. Once the server is up and running, log into the admin panel. From a browser, enter the IP of the server.
The web UI defaults to a basic user. To configure the server, you must login as an administrator. From the top right, click the “SWITCH” link. The default username is “maint” and pswd is “password”. That brings you into the administration panel.
The default setup is sufficient. There is a lot that can be configured on the TrixBox server, but for basic operation you only need to configure extensions & a conference room.
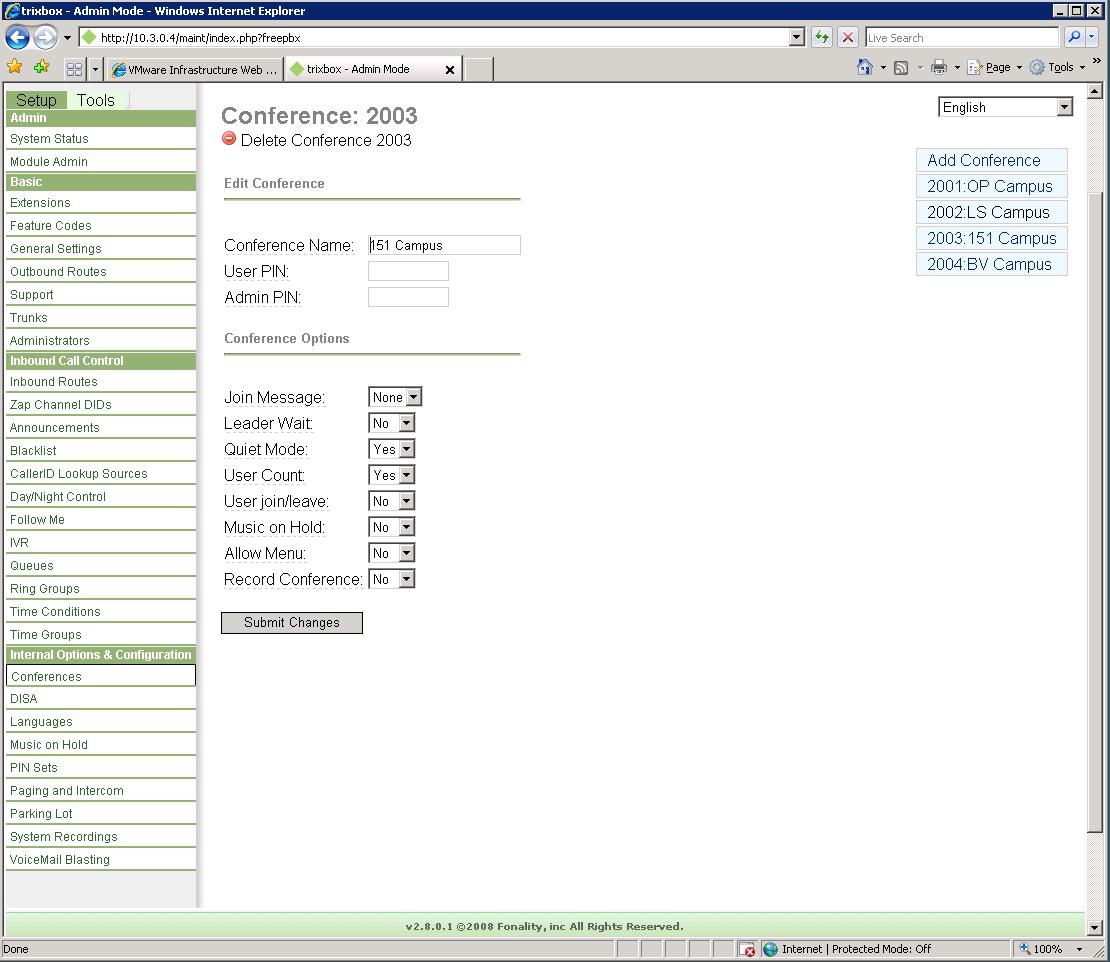
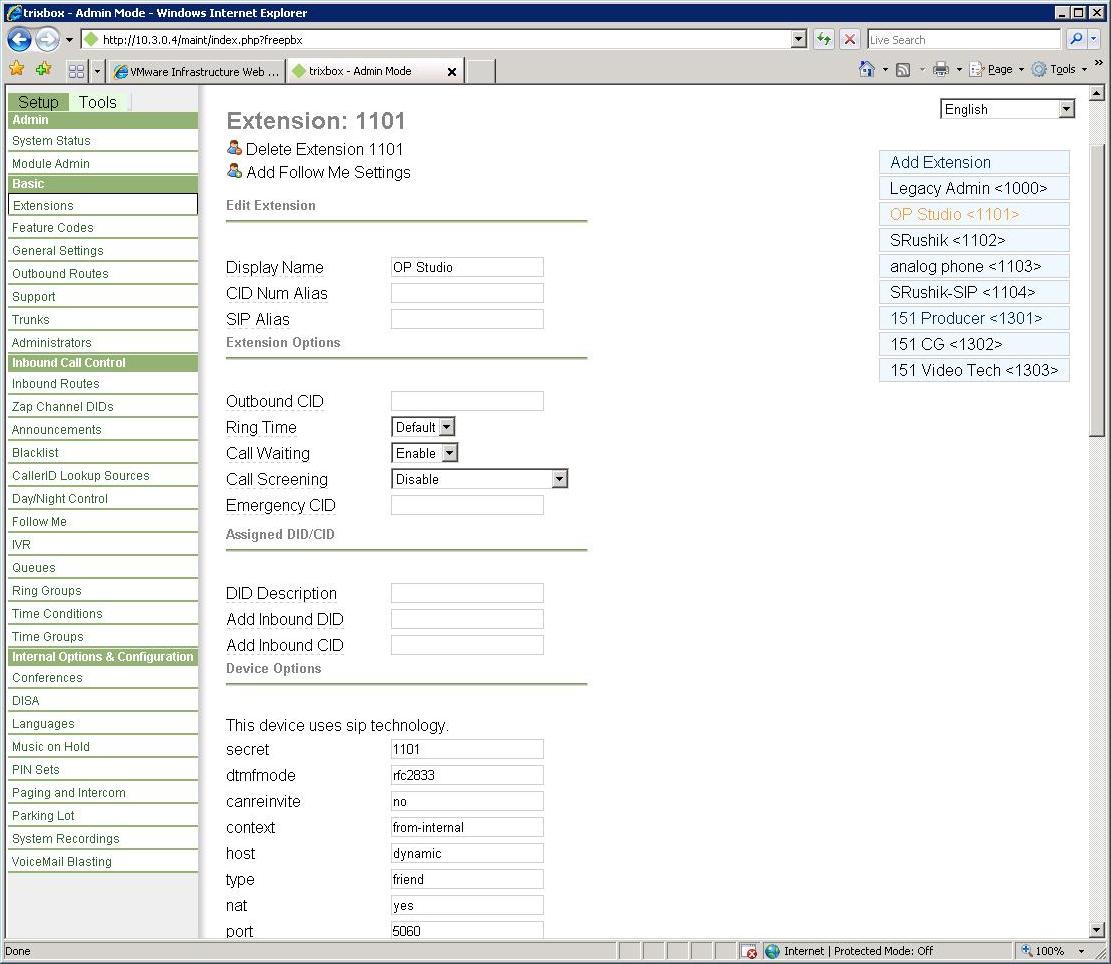 Click the menu for extensions and create an extension for each position (I use SIP or IAX2). Next, click the menu for conferences and setup a conference room. That’s it. The Trixbox server configuration is complete. (FYI, after making changes, you’ll see an orange box at the top “Apply Configuration Changes”. Be sure to click that to apply the changes.
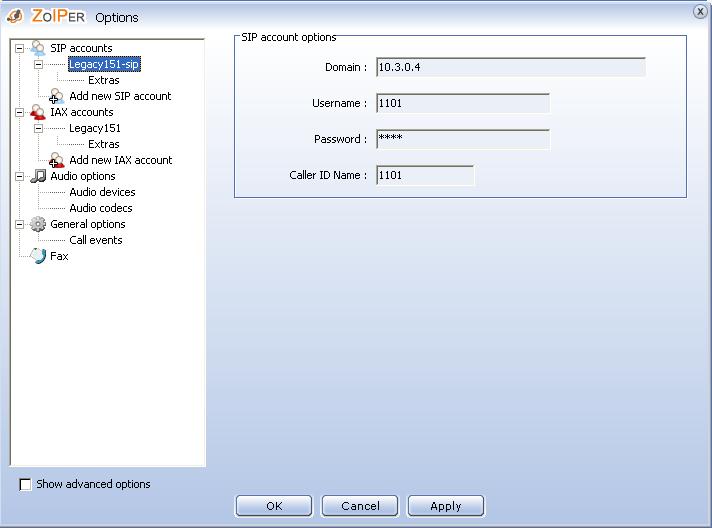 You can use a VOIP phone (wireless or corded)l or a softphone to connect to the server as an extension. I choose to use a softphone installed on a computer workstation. There are lots of softphone options, but there is no need for additional features, so for me, simpler the better. The softphone I use is by Zoiper, www.zoiper.com
The softphone needs to be configured to connect to the Trixbox server. All you need is the IP of the server, the extension# and the password that was assigned to that extension (when the extension was created)
Each softphone, dials the extension # of the conference room. Once connected to the conference, all extensions can communicate freely.
