Recently, I installed Roku Players in the kids classrooms, at all our campuses, to be used for showing videos that go along with the kids bible curriculum.
A little history…
We have been writing, producing our own children’s curriculum. One element of this curriculum is a video that is used to teach the lesson or bible story to the kids. We have been burning these videos to DVD and distributing the DVD’s to each campus the week prior. But, this distribution has proven to not be very reliable. I’m sure you’ve all heard this… (We couldn’t find the DVD this week, the DVD won’t play, Someone else had the disk… I can go on and on)
Playing from the DVD has been the most practical, because the videos are played on TV’s in the kids classrooms. We don’t have computers or projectors in the classrooms, so playing an MPG from network drive wasn’t really possible. As convenient as the DVD’s are for the teachers, getting these DVD’s to all campuses has been a major struggle every week. So, when I discovered the Roku player a few months ago I immediately began thinking about how this could totally change how we distribute these videos.
Here is a comparison of the weekly workflow to get these videos to the classrooms.
The Old DVD Method:
– Render the video out as a final MP4
– Upload the MP4 to the web for parents & kids to watch from home
– Burn the video to a DVD, make chapter marks & title slide
– Duplicate the DVD’s
– Label the DVD’s
– Package DVD’s and put in inter-campus mail
– Hope & pray the DVD arrived to the other campus and was there for Sunday morning.
New Roku Method:
– Render the video out as a final MP4
– Upload the MP4 to the web for parents & kids to watch from home
– Update the XML file (link to that same MP4 file URL) for the Roku channel
– DONE!! – Yahoo.
With the Roku players, I post the MP4 to our AmazonS3 cloud storage for viewing from the website (as I always have), now I just update the Roku XML file with that path to this MP4 and I’m totally done. One single MP4 upload, and no distribution of anything is needed. The video is immediately available and viewable from the Roku Players.
Initially, I purchased 6 Roku Players, and installed them in 6 kids classrooms (spread over 3 campuses). We will be testing them this weekend for the first time. The teachers are really excited about how simple this is and are anxious to see if it delivers the same or even better experience.
How is this done?
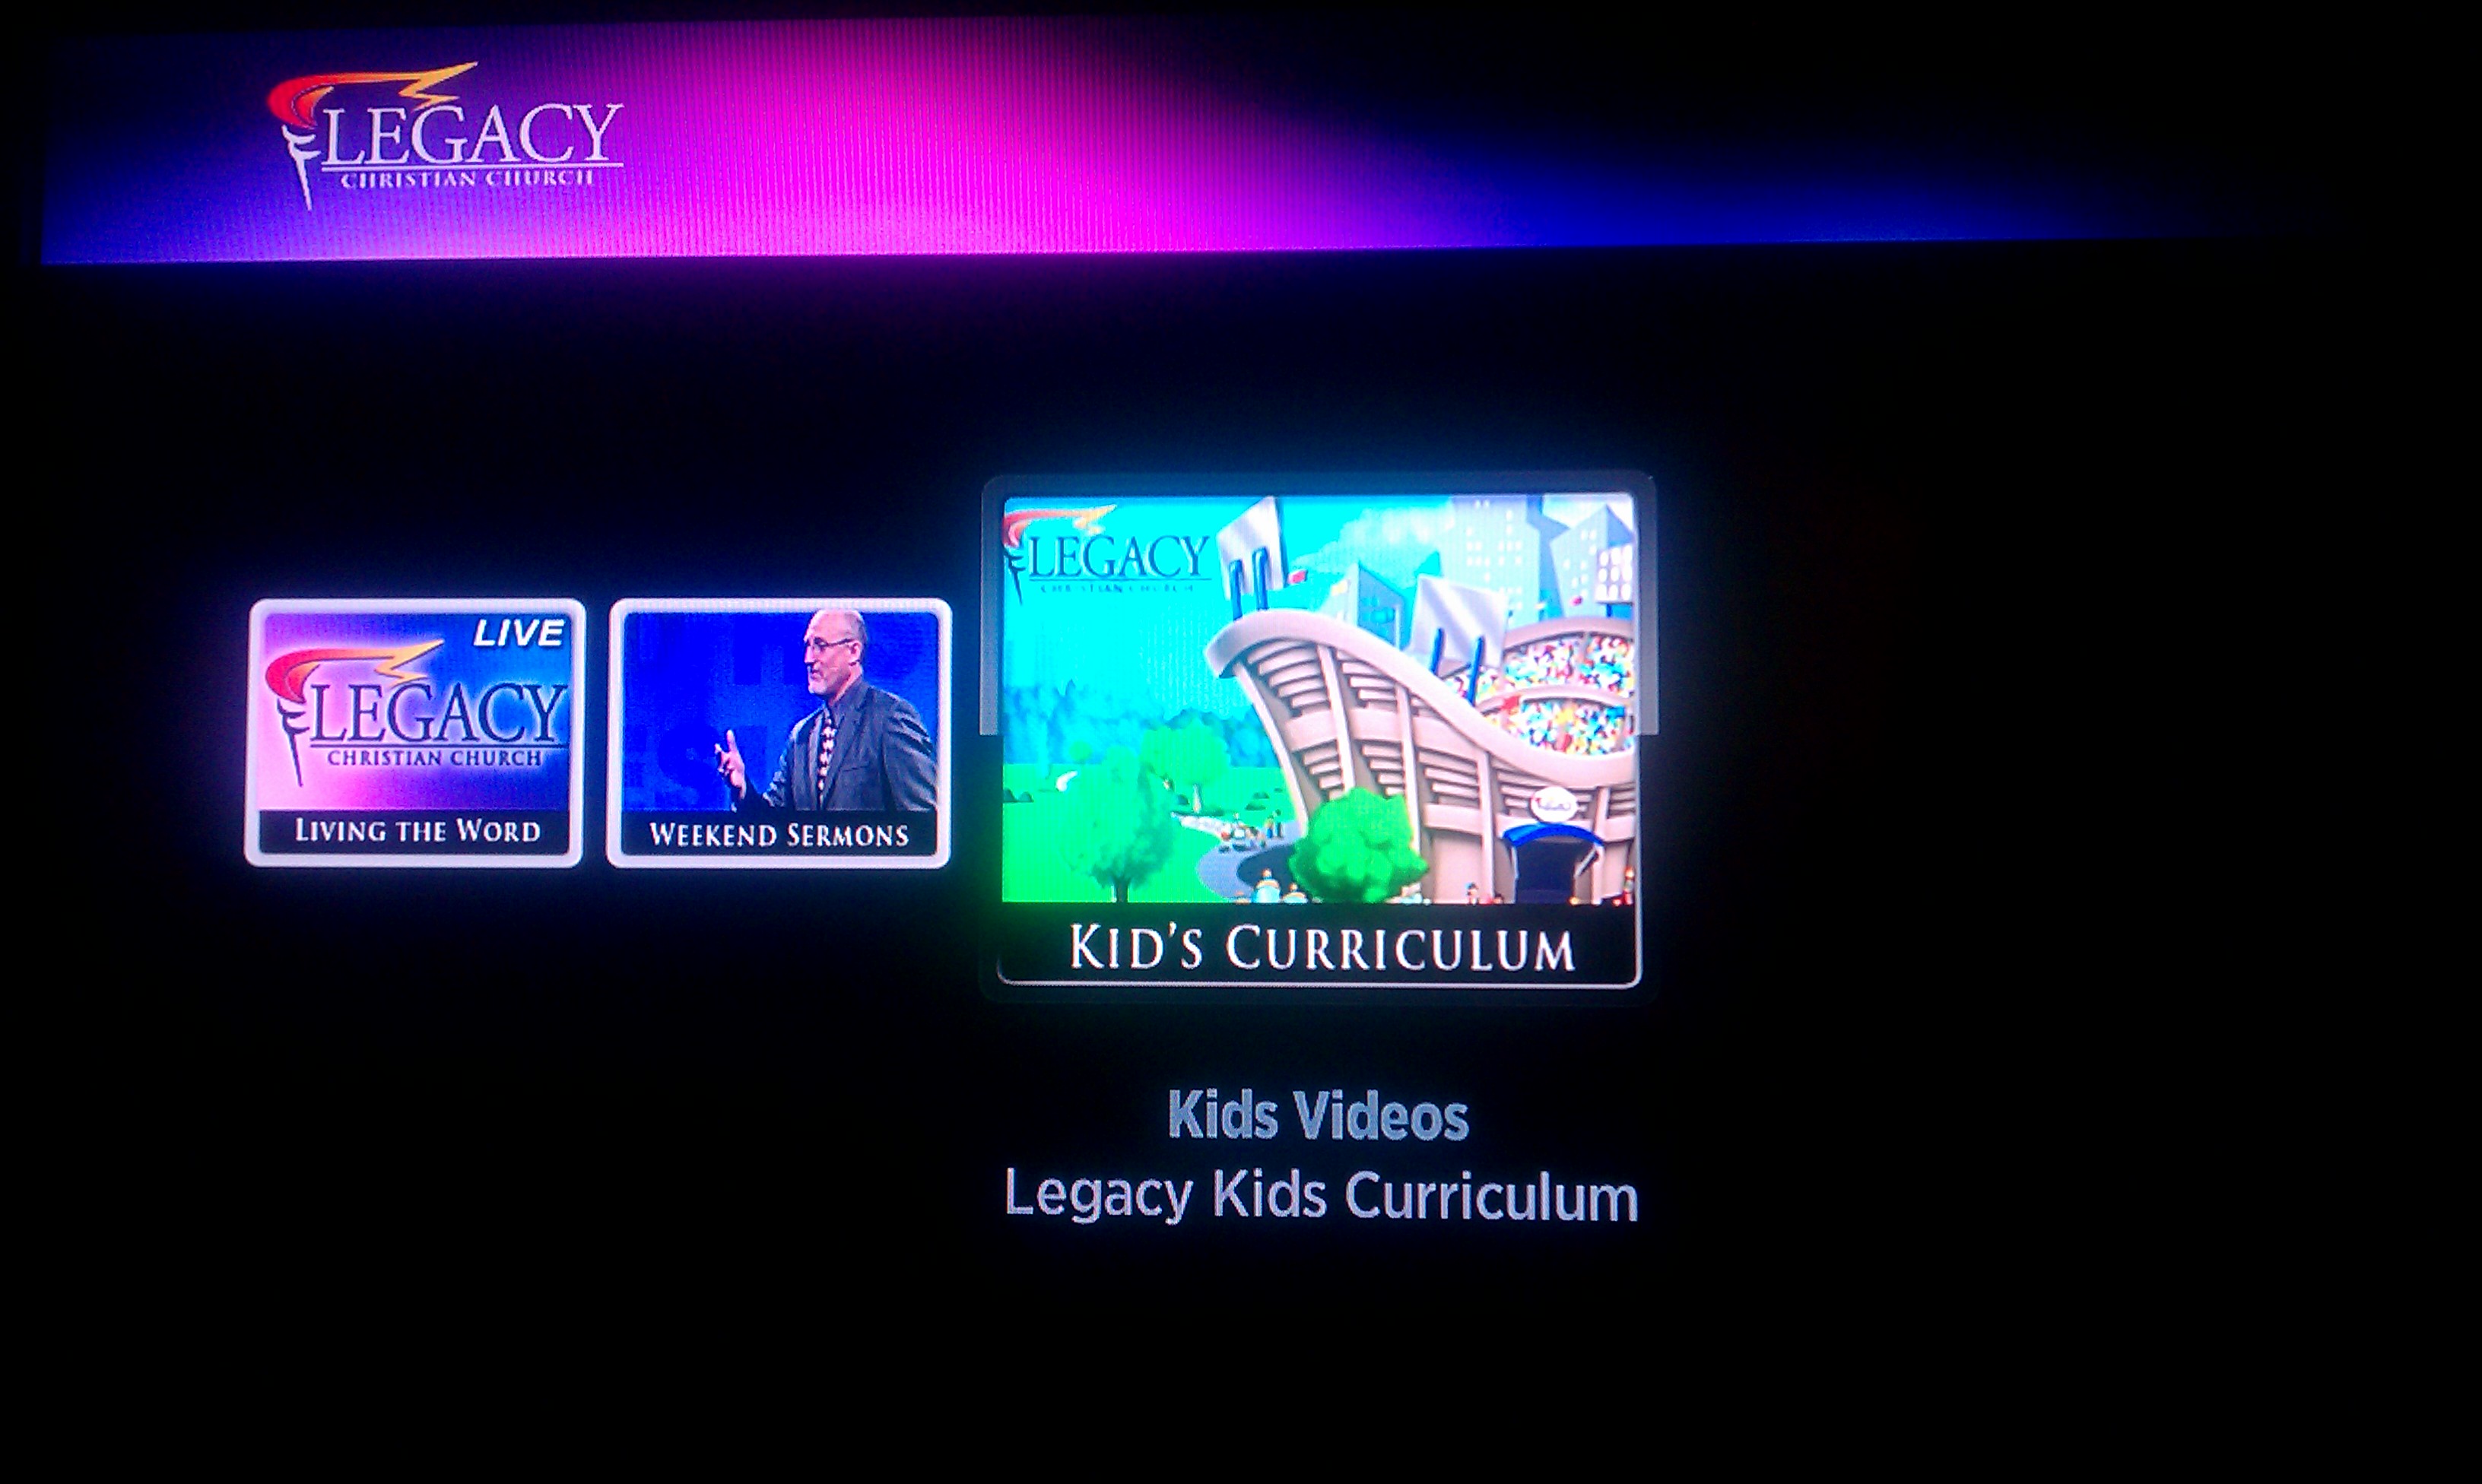
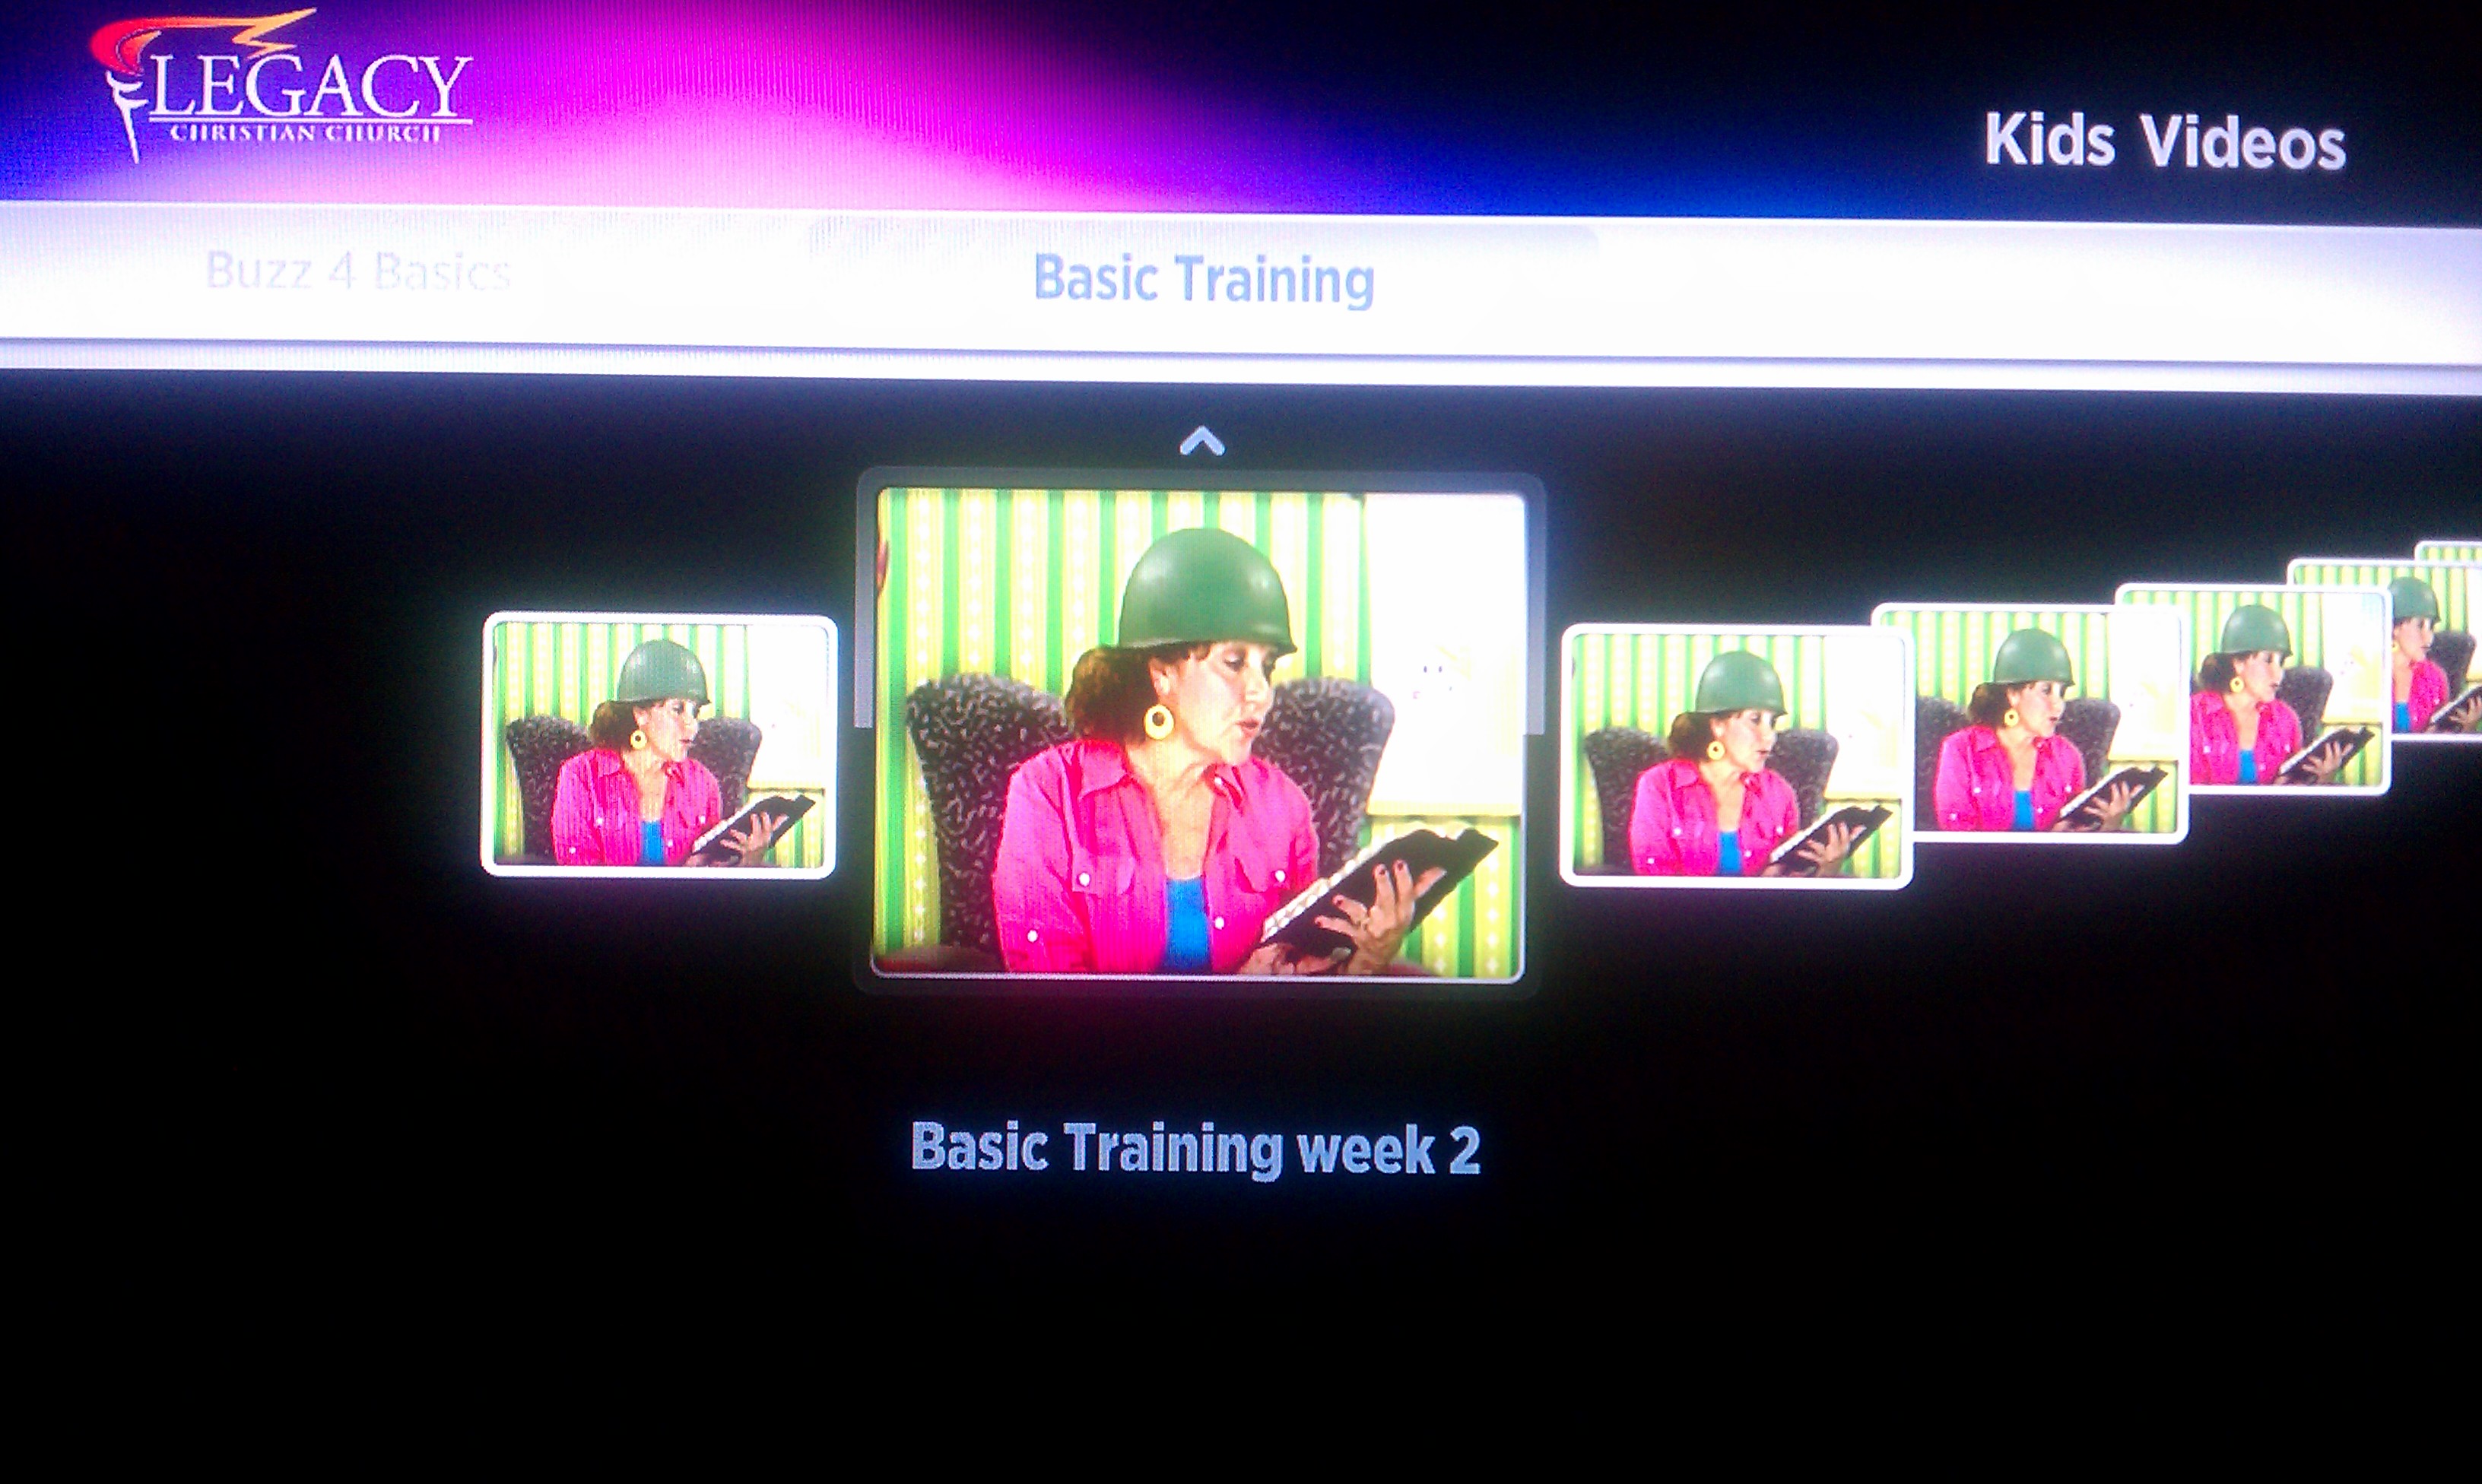
With the Roku, you can create public and/or private channels. Since I wanted to use this for other purposes, I created a free public channel for Legacy Christian Church, which anyone can subscribe to. In that channel, people can watch the service live, watch any past sermon on-demand, or watch the kids curriculum videos (more may be added later). The same could be accomplished with a private channel, but I wanted to share our videos with everyone, so it is public.
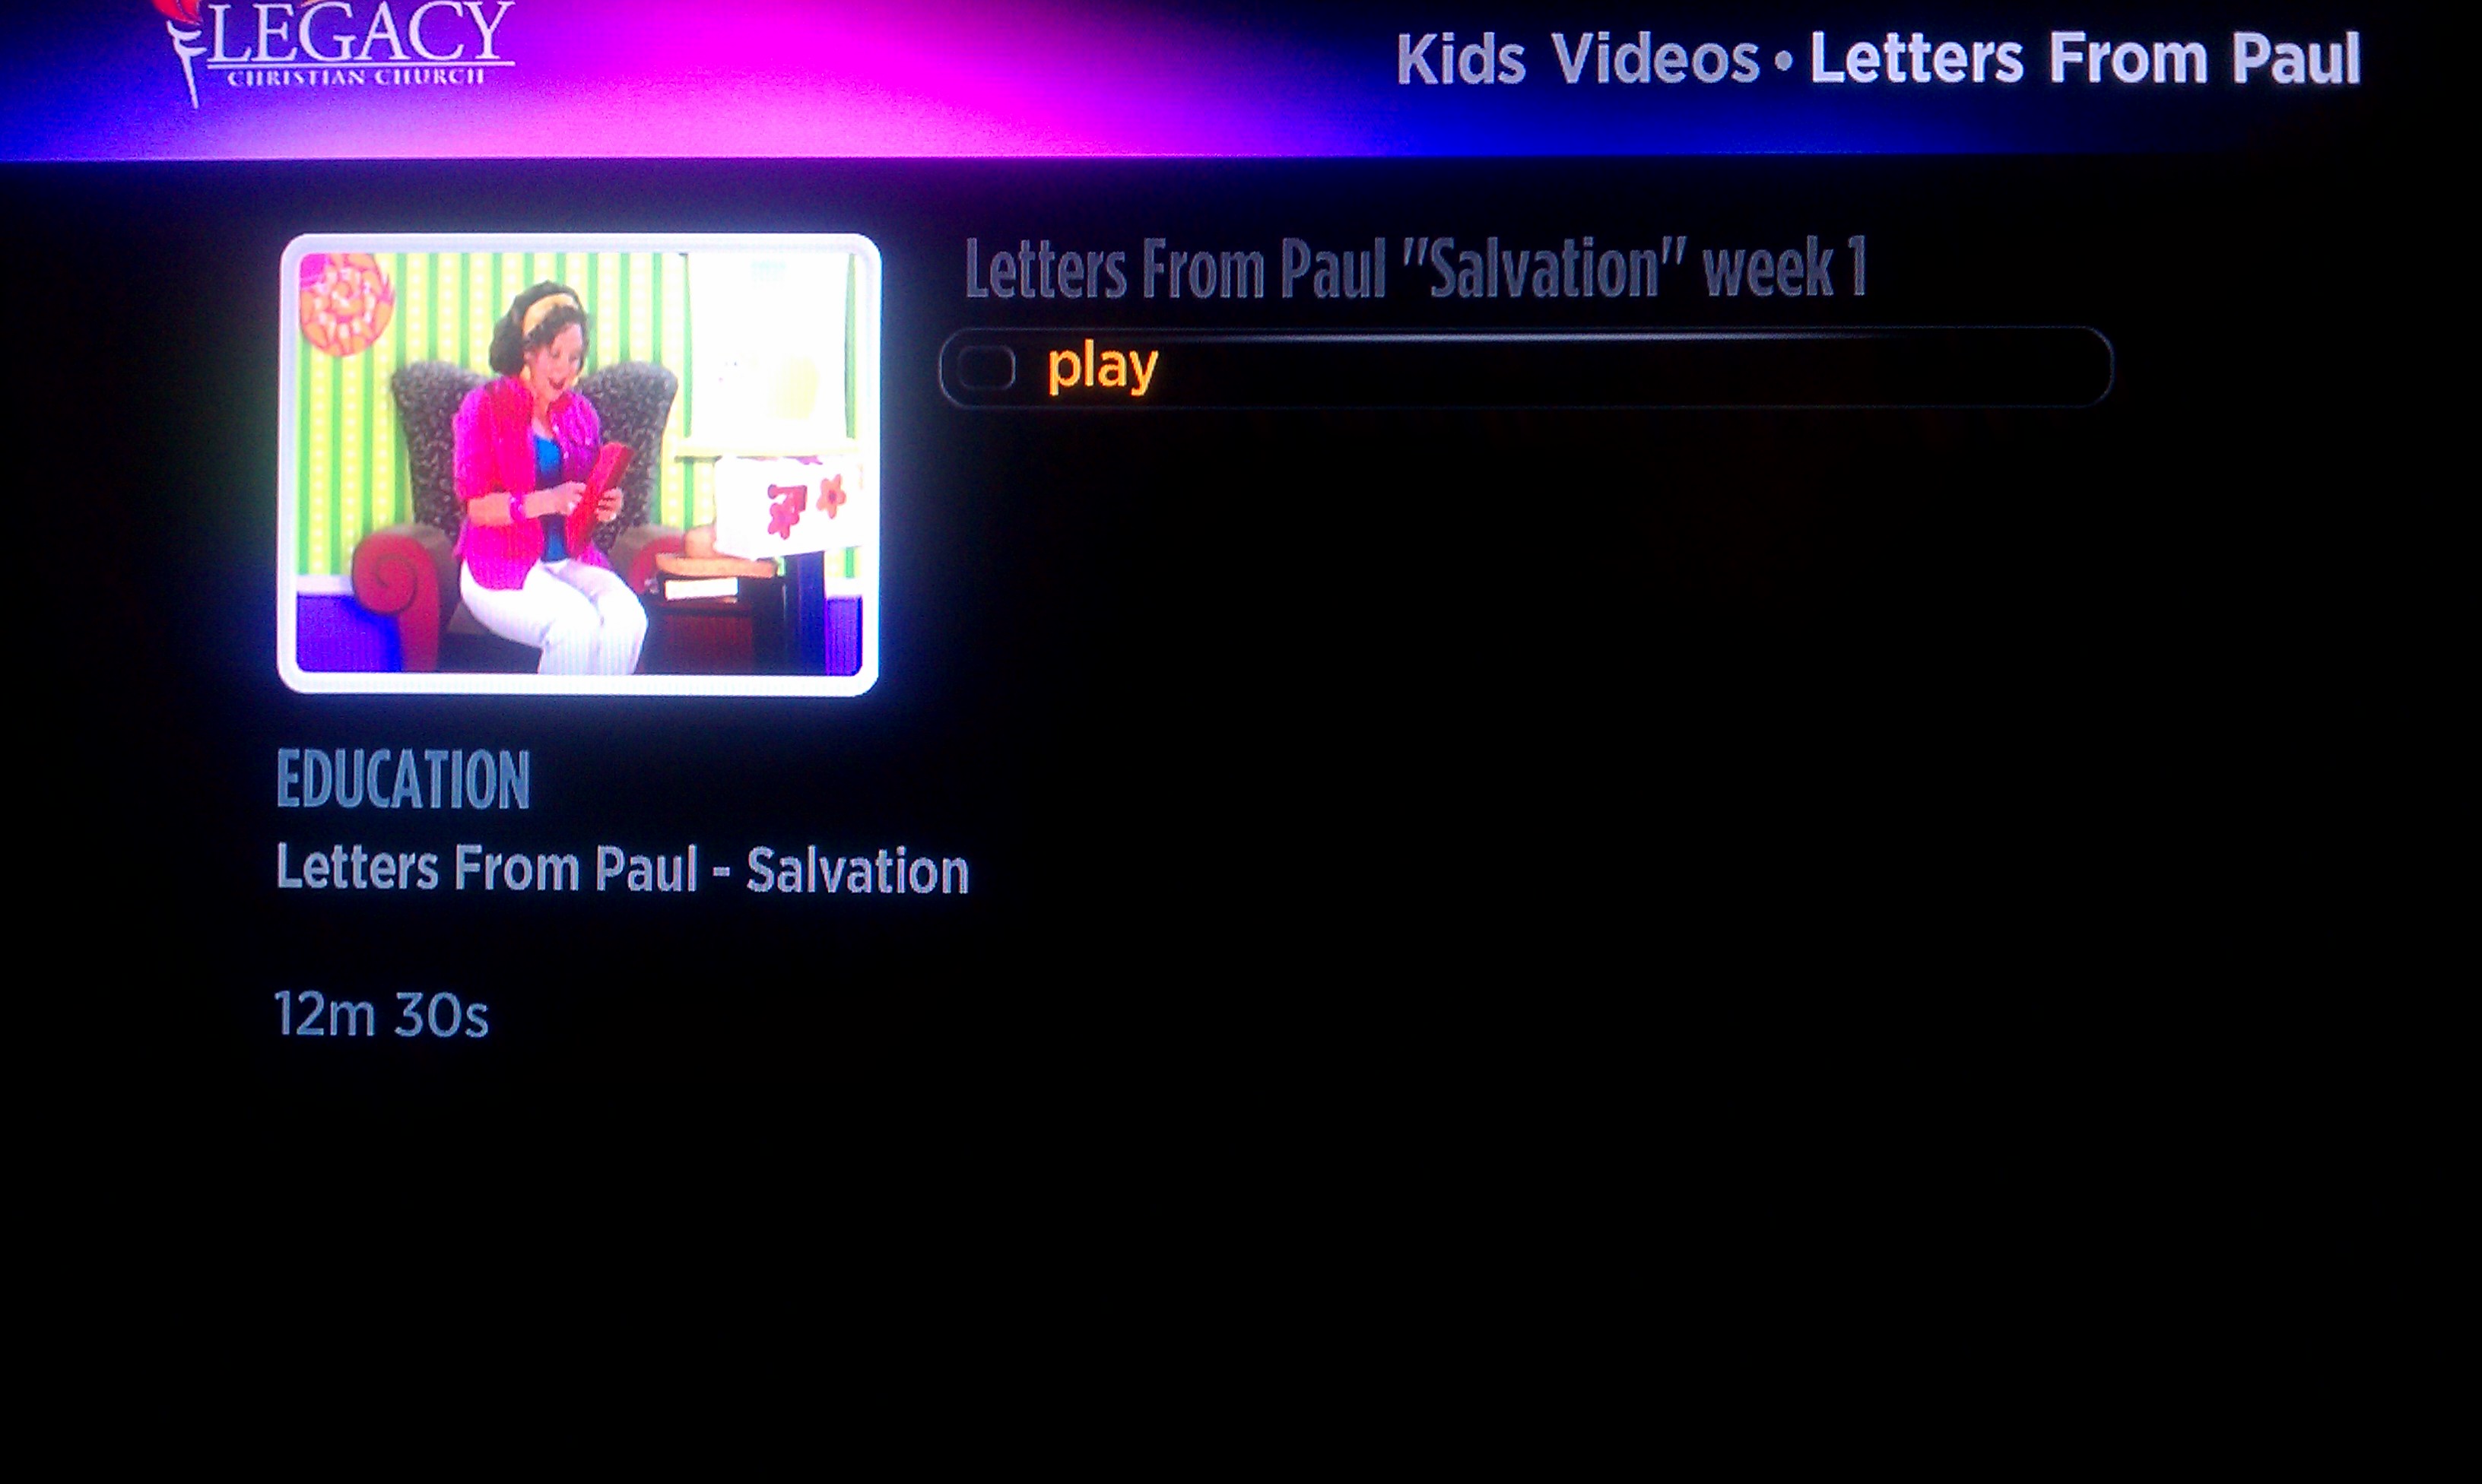
The way our Roku channel is configured, it reads an XML file that is saved on our webserver. This XML file contains all content on the channel (the MP4 URL, title, length, description, and thumbnail image.) So to add another video to the series, I edit the XML with the new content and immediately all Roku players will have the updates.
The really cool thing is that this process didn’t add anything to our work flow, instead it took steps away. We have already been publishing the MP4 video to the web, the only additional step is to edit the XML file with the file details.
More information about the Roku players can be found at www.roku.com. If you’d like more details about how I created the Roku, please contact me… I’d be glad to help.
Below are Some screenshots of the Roku Channel: